Author: Beth H.
Completing Pansy Center


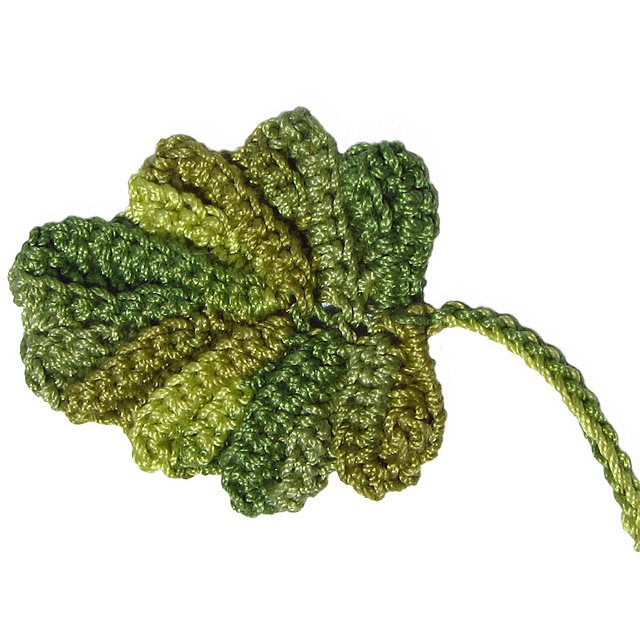
Columbine Leaf

This pattern uses chain, slip stitch & single crochet. You will need to know how to work with padding cord and how to read charts.
NEW: “Getting Started” info has been added below the link to the printable PDF.
Materials:
Crochet thread and appropriately sized hook. Suggested: size 10 & 1.75mm hook, size 20 & 1.5mm hook, size 30 & 1.25mm hook. Leaves will be 1.5″, 1.25″ and 1″ long respectively.
Gauge:
Not essential, use medium tension on all stitches except the chains which should be done loosely.
Notes:
Make turns counterclockwise. Not only does it give a slightly smoother edge, the chains will disappear if you make turns clockwise.
I use a long tail, 36″+, as the padding cord. Pull padding cord after each row, pull more tightly to make leaf edges rounded.
Making the stitches into BLO will result in a more textured leaf, try both ways and see which you prefer!

Copyright 2016 FoxStitch Design
You may not sell, reproduce, redistribute, or create derivatives, including translations, of this pattern without written permission.
Trying to restrict what you do with the finished items is unenforceable and silly. Do whatever you want with your finished items!
This kind of design just doesn’t lend itself to be fully written out (mostly because of having to make stitches into stitches made in rows many rows previous). It’s clearer in chart form. However you may find the “Getting Started” info below helpful as you begin.
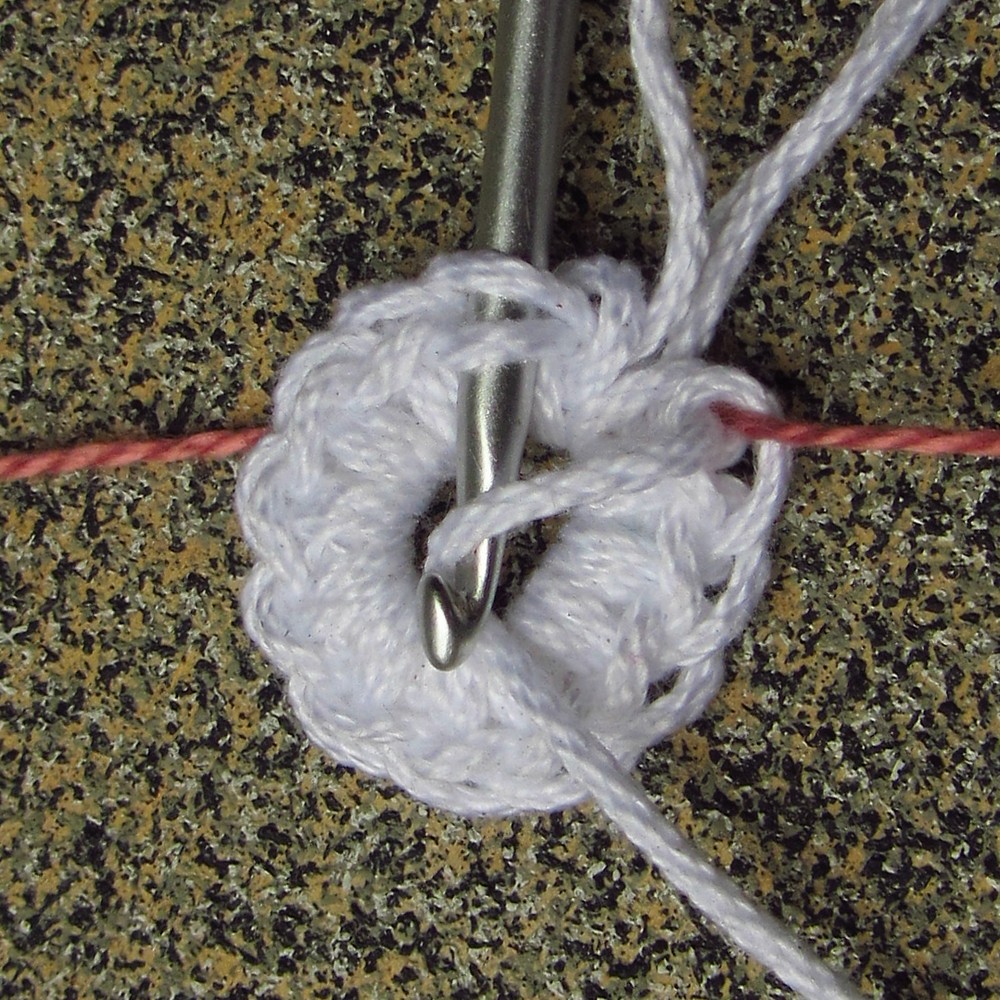
You do not begin with chains. You begin by making a slip knot (red dot) and then making SCs onto the tail (which is used as padding cord).
Padding cord is most often used to add bulk but that’s NOT how it’s used for this leaf, for most of the leaf it is just carried along. Instead, it’s used so you can make stitches on to it (instead of into another stitch) and so you can use it kind of like a drawstring to make the ends of the lobes more rounded and smooth.
I’ll be referring to the 3 parts of the leaf as sections and the four scallops on the end of the section as lobes.
The dotted lines show you where on an earlier row the sc needs to be made and how the stitches line up. Sometimes it’s just the previous row, sometimes it’s a much earlier row (the dotted lines with gray arrows beside them). The light blue line tells you to include the padding cord when you make the stitch.
You would begin this way:
Make a slip knot (the red dot) leaving a very long tail (at least 3′) as padding cord.
Row 1: Twelve sc on the padding cord, ch1, turn. Drop the padding cord, just let it hang.
Row 2: Skip the 1st sc, sc into each of the next 6 sc of the 1st row, sl st into the next st, ch1, turn.
Row 3: Skip sl st, sl st in the 1st sc, sc into next 5 sts, sc into the ch. Pick up the padding cord and make one sc onto just the padding cord. Turn.
The padding cord is then held on top of the stitches, you work INTO the stitches and are just carrying the cord along and it is trapped.
So…
Row 4: Skip the sc that was made onto just the padding cord, sc into each of the next 6 sc, sc into the sl st, sc into the ch, sc into the next 2 sc from row 1, sl st into the next sc from row 1. Ch 1, turn.
Pull on the padding cord to remove any looseness, pull a little more if you want to round the end a bit more. You will continue to hold the padding cord on top of the stitches as you make the next row. Just be sure you are catching the padding cord with every SC, it’s easy to forget about it and when it’s time to make a stitch onto JUST the cord, it’s nowhere to be found.
Row 5: Skip the sl st, sc into each of the next 8 sc, 2 sc onto just the padding cord, ch 1, turn. Drop the padding cord.
Row 6: Skip the 1st sc made onto just the padding cord, sc into the 2nd sc that was made on just the padding cord, sc into each of the next 4 sts. sl st into next st, ch1 turn…
___________________________________
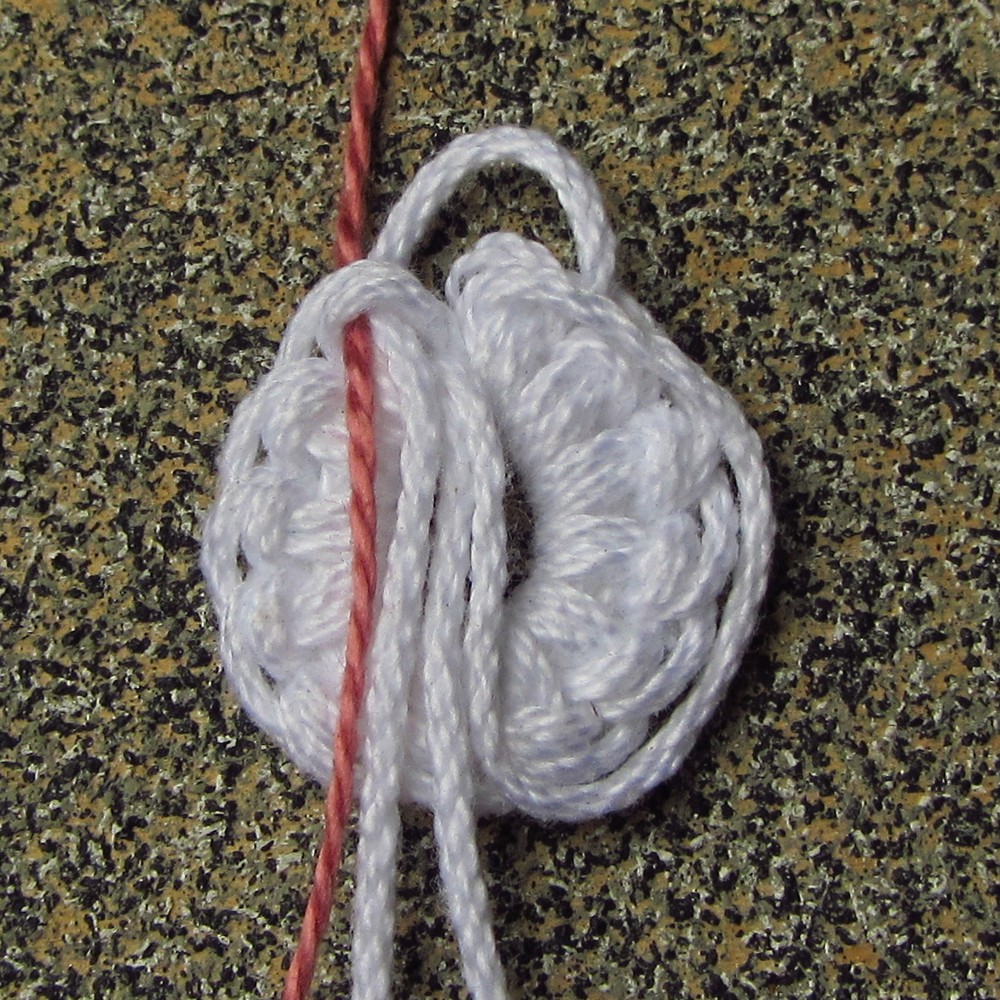
Each of the 4 lobes of a leaf section are made roughly the same way, the padding cord goes around the perimeter of the lobe.
The last stitch of the 3rd lobe goes into the ch between the 1st & 2nd lobe.
The last stitch of the 4th lobe goes into the 1st stitch of the 1st row of the 1st lobe (the really long dotted lines that form a square).
Each of the three leaf sections has 16 rows. When you begin the next section of the leaf (rows 17 and 33), you make the sc directly onto only the padding cord.
Crystallized Snowflake
The How-to for crystallizing crochet snowflakes is included in my new set of tutorials (3 sizes).
https://www.etsy.com/listing/638333566
or
https://www.ravelry.com/patterns/library/snowflakes-29
Pansy Leaf
This pattern uses chain, slip stitch & single crochet. You will need to know how to work with padding cord and how to read charts.
NEW: “Getting Started” info has been added below the link to the printable PDF.
Materials:
Crochet thread and appropriately sized hook. Suggested: size 10 & 1.75mm hook, size 20 & 1.5mm hook, size 30 & 1.25mm hook. Leaves will be 1.5″, 1.25″ and 1″ long respectively.
Gauge:
Not essential, use medium tension on all stitches except the chains which should be done loosely.
Notes:
Make turns counterclockwise. Not only does it give a slightly smoother edge, the chains will disappear if you make turns clockwise.
I use a long tail, 16″ to 24″, as the padding cord. Pull padding cord after each row, pull more tightly to make leaf edges rounded.
Making the stitches into BLO will result in a more textured leaf, try both ways and see which you prefer!

Copyright 2016 FoxStitch Design
You may not sell, reproduce, redistribute, or create derivatives, including translations, of this pattern without written permission.
Trying to restrict what you do with the finished items is unenforceable and silly. Do whatever you want with your finished items!
This kind of design just doesn’t lend itself to be fully written out (mostly because of having to make stitches into stitches made in rows many rows previous). It’s clearer in chart form. However you may find the “Getting Started” info below helpful as you begin.
The dotted lines show you where on an earlier row the sc needs to be made. Sometimes it’s just the previous row, sometimes it’s a much earlier row. The light blue line tells you to include the padding cord when you make the stitch.
Padding cord is most often used to add bulk but that’s NOT how it’s used for this leaf. For most of the leaf it is just carried along.
Make a slip knot a long way from the end of the thread and use just the tail as padding cord. It’s used so you can make stitches directly on to it (instead of into another stitch) and so you can use it kind of like a drawstring to make the ends of the lobes more rounded and smooth.
You would begin this way:
Seven sc onto the padding cord, ch1, turn. Drop the padding cord.
Sc into the last two sc from first row, a slip stitch in the next st, ch1, turn.
Skip ch, sl st in the next sc, sc into next 2 sts, 2 sc onto just the padding cord. turn.
The cord is then held on top of the stitches and you work INTO the stitches and are just carrying the cord along and it is trapped.
So…
A sc into each of the 2 sc from the 3rd row, a sc into the sl st, a sc into the ch, a sc into the 4th sc of the FIRST ROW, another sc into the next st of the first row, a sl st into the next st of the first row, ch1, turn.
Just be sure you are catching the padding cord with every SC, it’s easy to forget about it and when it’s time to make stitches onto JUST the cord (the red crosses), it’s nowhere to be found.
The arrows across mean to slip st into the chain from the other side.